244 days with Vim, 2 days with gVim: introducing dotvim
Things have changed since I published my "Two weeks with Vim" post. At that time, I was desperately mad --thanks to Eclipse. I even began learning about VTE, the Terminal-like GTK widget--in order to build my own Vim+command line based Android "IDE". Yes, that's how irritated I was with Eclipse.
But then I found about IntelliJ IDEA, and quickly forgot about all the pains I had experienced with Eclipse. Now that was a wonderful, intelligent, productive environment in which to program. So I dismissed my grandeur dreams of a DIY IDE.
However, I didn't stop using Vim! I have been using it for everything else. Mostly Python, but a bit of C too. I like it specially when I'm on my laptop. Firstly, because I can't seem to get to speed with the button-less touchpad in the new Macbooks, so I'd rather avoid using the touchpad. Secondly, because the battery lasts like forever when using Vim only and not a full-blown IDE such as IntelliJ. As an example, I wrote the patch for pommed on newer Macbooks on the plane from London to Valencia, which takes two hours and a bit. When I arrived, I still spent a day or two testing and dabbling with the pommed code until I had to plug-in the charger again.
I still have much to learn about Vim, but one of the things I wanted to solve was that I had to manually sync my Vim settings between my laptop and my desktop. I noticed some people were publishing their .vim directories in github, and I thought that it was a terrific idea: that way I could keep everything in the famous cloud but still have a local backup (with history) if the cloud was blown away!
And after studying other people's github .vim repositories, here's my imaginatively named repository: dotvim.
How it works
Vim stores each user's settings in a .vim directory, in the user's home directory. In my case, that is /home/sole/.vim, but that depends on each operating system and distribution. It might be /Users/sole in Mac, if I remember correctly.
So as everything is in a directory, it's an ideal situation for a git repository. We can place all our favourite plug-ins, color schemes and etc inside that directory and they will just be a git clone away when needed.
The problem is that the file Vim reads when starting up, and where all the personal settings are stored and scripts are launched for a user is not inside .vim, but at the same level than .vim: on the user's home directory. So in my case, its full path is /home/sole/.vimrc
How do we version a single file with git? Well, I found the answer in Tsung-Hsiang Chang's .vim repository: you don't. Instead, you place it inside the versioned .vim directory, and make a symlink to it. That way it's kept in the repository along with the rest of vim-thingies:
ln -s ~/.vim/vimrc ~/.vimrc
Doing all this manually is a hassle. It really demands automation! And someone had thought of that already: Vincent Driessen devised both an .sh script for cloning his .vim dir and making the symlinks, and also a nifty one-line which does all the work if you're in a brand new setup with no .vim or .vimrc on it:
wget -O - https://github.com/nvie/vimrc/raw/master/autoinstall.sh | sh
I liked that idea, but I splitted it into install.sh, which sets up symlinks and updates the git submodules, and superfastinstall.sh which clones the git repository and then calls install.sh in order to complete the installation. This was more modular (and easier to test).
And that's roughly how the setup is done.
But... gVim?
One of the aspects that annoys me of most editors is the colours. It looks like people either don't care or their tastes are diametrically opposed to mine, and Vim was no exception. I tried all the color schemes but I liked none. So I decided to finally learn how to make my own color scheme... only to find that it's a bit tricky!
Due to Vim's longevity, it has to cover a lot of use cases: running on an ancient terminal, on a colour terminal, on a proper colour terminal, and on "the gui". "The gui" are gVim, MacVim and all the other versions of Vim surrounded by nice menus for opening and closing files and copying and pasting. The ancient terminals--well, I haven't had the opportunity of experimenting with those, so I'll just assume it's something clunky and left to collect dust in a storage basement, or it's what banks and flight companies use to keep track of our movements. So that leaves us mere mortals with the colour terminals, and you might be wondering what's the distinction between them and the "proper colour" terminals.
But wait--we don't really use colour terminals. We use terminal emulators! Physical colour terminals are apparently limited by hardware to a fixed set of colours associated with numeric codes: a palette. Thus, the emulators follow this behaviour as well. So if you ask an emulator to show this or that colour, it will look up the corresponding colour in the palette. This means that you can define different "profiles" which modify the palette, amongst other aspects, and the same program can look different depending on the profile you're using.
With this scenario set, you can safely anticipate that building a color scheme based on a palette that can be arbitrarily changed is going to be a mess, or at least difficult.
Vim works around this by allowing you to specify different colour values depending of the context Vim is running on. So you can say: I want the "Normal" text to be "Black" on a simple terminal and on a colour terminal, and slightly off dark grey in a gui, and I want the background to be a "Light Grey"
. That, in Vim, is done this way:
highlight Normal ctermbg=LightGray ctermfg=Black guibg=LightGray guifg=#111111
If I tell you that ctermfg means colour terminal foreground, I think you can safely deduct the rest.
And generally, Black is black in the terminal profiles I've tested, but sometimes I specified other colours and got either something completely different, or just no change, like there were some hardware incompatibilities that the emulator was also following to the letter, and maybe it couldn't show bold yellow over grey but could instead show bold magenta over grey.
I finally found that this was happening because apparently the GNOME Terminal that ships with Ubuntu is not capable of showing more than 15 colours. You've got to do "stuff" to get it to show more colours. The "stuff" was recompiling, according to some sources, or changing some values, according to other sources, or both, according to yet other sources.
At the end I just decided I'd focus on making a colour scheme that was "OK" when running on the default Ubuntu+GNOME terminal and "nice" when running on gVim (which does obey my colour indications and also allows to use RGB values!). It's the colour scheme that I'm using on my .vimrc, sole.vim, and that is still in its infancy since it's missing definitions for many values O:-)
Unfortunately gVim had an annoying quirk: I could paste something from the GNOME clipboard with Shift+Control+V when running Vim on a terminal, but that didn't work on gVim. Instead, I had to use something as intuitive as "+gP. But guess what? I found a way to remap Control+C and Control+V to perform copy and paste:
nmap <C-V> "+gP
imap <C-V> <ESC><C-V>i
vmap <C-C> "+y
And while I was at that, I thought I would change the font face too. I settled on Inconsolata. I also changed the status bar to something a bit more spiced (thanks to Tsung-Hsiang's vimrc again), followed a tutorial to make Vim more suited to Python programming, and made sure that NERDTree was included as a git submodule, so that it would always be available whenever I installed my .vim in a computer.
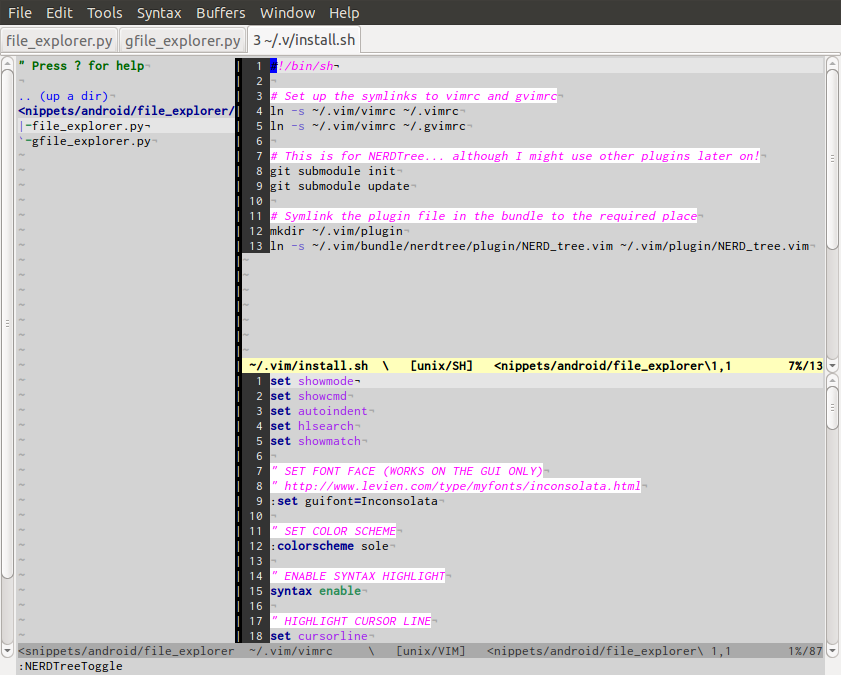
So this is how gVim looks like currently (after removing the toolbar!):
And as I wanted the same settings and scripts available both when using vim or gvim, I symlinked both .vimrc and .gvimrc (which is what gVim uses) to the same file. I'm not sure if this is the best practice but it'll stay this way for now. Update: it's not the best practice, as Andy Todd lets me know in the comment below! gVim reads first .vimrc and then reads .gvimrc, so I've created a .gvimrc file containing gui stuff only, and updated the install script that creates the symlinks too. It's updated in my repo already :D
Finally, one for the curious: this is how I calculated how many days had elapsed since I started using Vim (taking my first Vim post as time reference).
sole@soletis:~$ python
Python 2.6.6 (r266:84292, Sep 15 2010, 16:22:56)
[GCC 4.4.5] on linux2
Type "help", "copyright", "credits" or "license" for more information.
>>> import datetime
>>> t1 = datetime.datetime(year=2010, month=11, day=15)
>>> t2 = datetime.datetime(year=2011, month=7, day=3)
>>> (t2-t1).days + 14 # two weeks
244
You wouldn't expect me to add the days up manually, would you!? ;)