DIY: Replacing my powerbook's hard drive
It is a natural-born traveller: I had owned it for less than one month and was already travelling to Barcelona with it; next came several more visits to different cities, in Spain (Madrid, Valencia, Seville) or in Europe indistinctly (Frankfurt, Helsinki). It even was my commuting companion during the month that I was working in Wokingham (although we could never play with T-mobile's train wi-fi service) and also came with me to Sundown and barcamplondon2! And I'm not even detailing minor, local moves...
But some weeks ago it was playing a plain AVI and it suddenly got absolutely frozen. I began to blame Leopard, since everything has been kind of awkward since I upgraded to it. I restarted it, played the video again and luckily it finished playing without freezing. I left it there and went for some coffee; when I came back it was frozen again! No response whatsoever to mouse moves or key presses. Something was really wrong there and I kept believing it was Leopard's fault.
I immediately began to look for info about Ubuntu on powerpc mac's. It's not a very positive experience; powerpc macs are not very mainstream nowadays (or so that seems) and so they are not part of the main ubuntu distribution. The powerpc port is maintained by volunteers and not officially endorsed or supported by Canonical. Not that it makes it unusable but it's somehow less shiny. There are other distributions which do support powerpc, but I am not too keen on changing: I like Ubuntu.
Anyway, while I decided about ubuntu or not, I thought about having a look at the powerbook's system logs. Ahhh the horrible sight I found!
14:23 disk0s3: I/O error
(... lots more stuff...)
16:48 disk0s3: I/O error
Or what is the same: each time the computer had got frozen, there had been an I/O error. Not nice...
All the searches pointed to one and only solution:
Back up your data and replace the hard disk as soon as possible!
Since I don't really like to give my computers to strangers for them to be fixed, I decided I was going to replace the hard drive myself, just as I did with my mac mini.
What you'll need
First thing was to look for info on how to do that. This is the main page I used: ifixit. It is very clearly explained, including the required tools one would need. I only had to buy a Torx 06 screwdriver for the two hexagonal-like screws on the keyboard side, since I already had Philips screwdrivers.
The guide is very complete and the only thing it's missing is some geek-porn details of the powerbook interiors, so I'll just complete it with that and some remarks:
Apart from the hard disk (a SATA disk, not a SATA2 disk) and the screwdrivers, there's something else which you will need and no one speaks about: STRENGTH!!!
The screws which hold the hard drive to the chassis are extremely tight. All the other screws are quite tight and hard to remove, having a dismaying tendency to tear up when trying to unscrew them, specially the ones which need the Torx driver (in the keyboard area). They almost ruined the screwdriver!

I would say replacing the hard drive in a powerbook is way more tedious and scary than replacing the mini's hard drive. Things are very tight and tiny, and you have the general feeling that you're going to break it, so I don't recommend it if you're not a patient person.
Hands on!
First thing I did was putting a nice kitchen towel on the table, to avoid scratching the cover of the laptop. You can use whichever type of towel or soft surface you like of course!
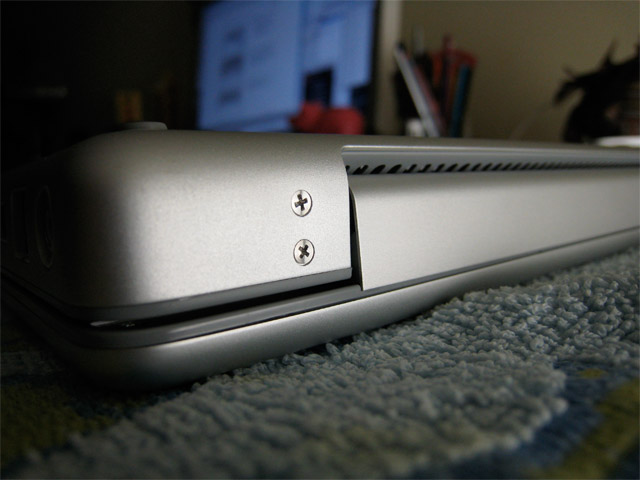
Then the guide recommends removing the battery using a coin, but if you have a wood clothes peg handy, do use it! That way you'll avoid leaving marks in the metal. Example:
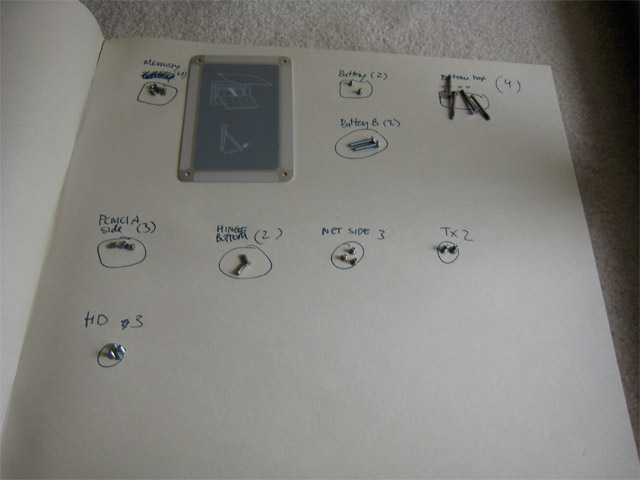
Once you remove the battery begins the monumental task of removing the incredible amount of screws that this little machine has. For not losing a single one, I placed them in a big notebook like this:
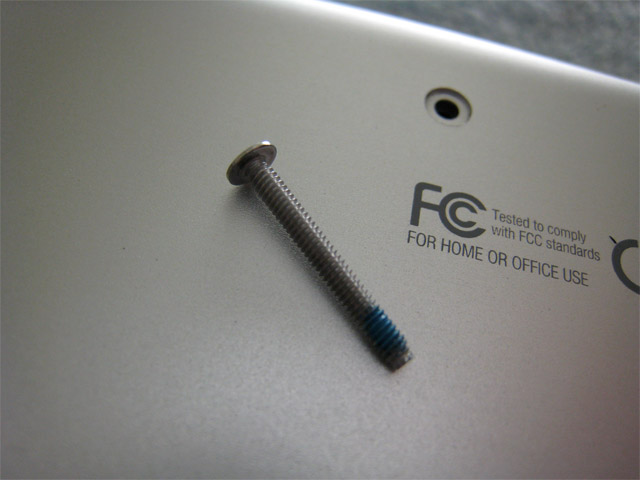
It's interesting and perhaps the reason for them to be so terribly tight that there's some kind of blue mass at the end of some screws, like if it was glue or something. If you know what it is, please let me know. I'm intrigued.
After a thousand screws, you'll be able to access the compact and tight interior. Be very careful when removing the keyboard, take as much time as you need and don't use too much of your strength for that, or you may tear the connection to the motherboard quite easily (I almost did - and it was a truly terrifying moment!).
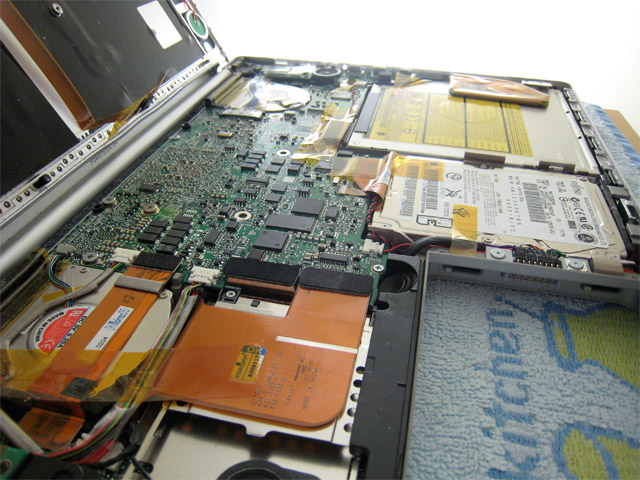
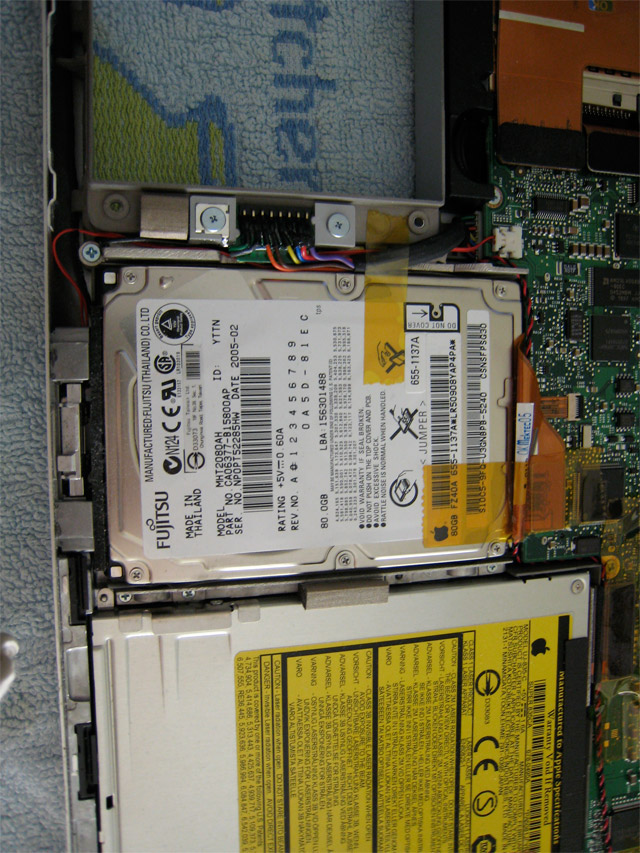
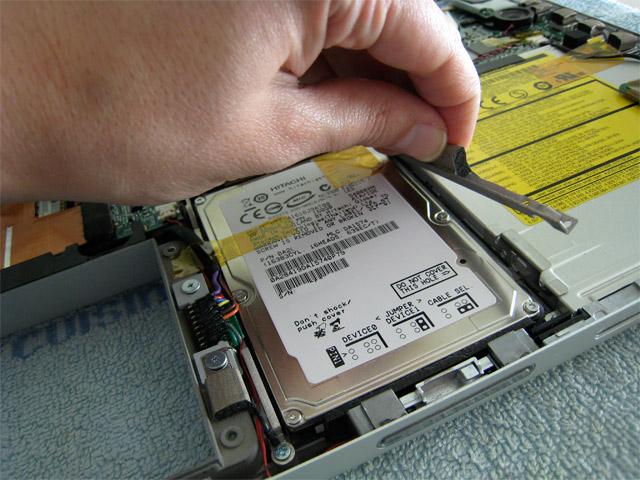
The hard drive is right underneath the touchpad, surrounded by the battery and the optical drive on left and right respectively:
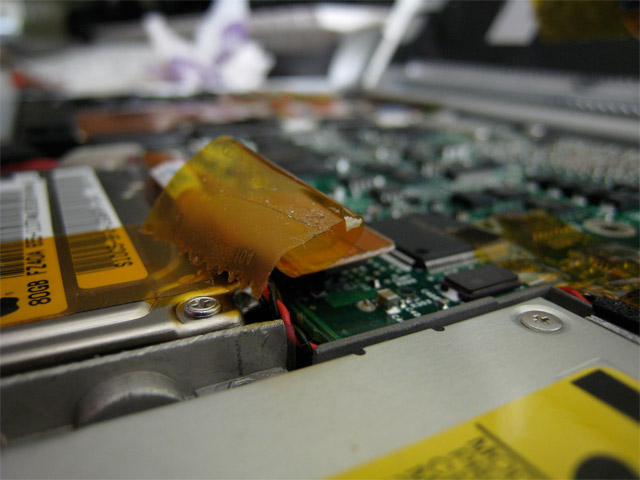
You might need help for these screws if your hands are not extraordinarily strong. Once you remove them you still need to carefully remove that orange tape which keeps the hard drive connected to the motherboard. Here's a close up just for the sake of it:
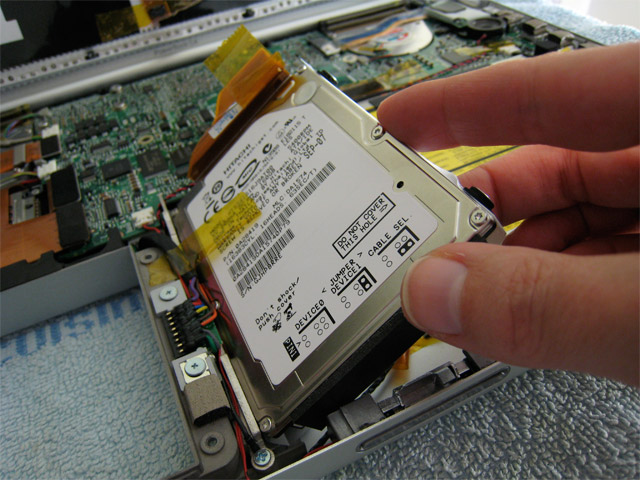
There's still another piece of orange tape to remove on the left of the hard drive. See my thumb here for having a sense of the scale of this operation:

When you finish with these details you can remove the hard drive from its place but there's still some work to be done.
And guess what... there are more screws to remove!
The hard drive is surrounded by a piece of plastic, which is fixed to the hard drive with those extra screws. I'm guessing it is for insulating it from static electricity or something like that; otherwise it doesn't make much sense.
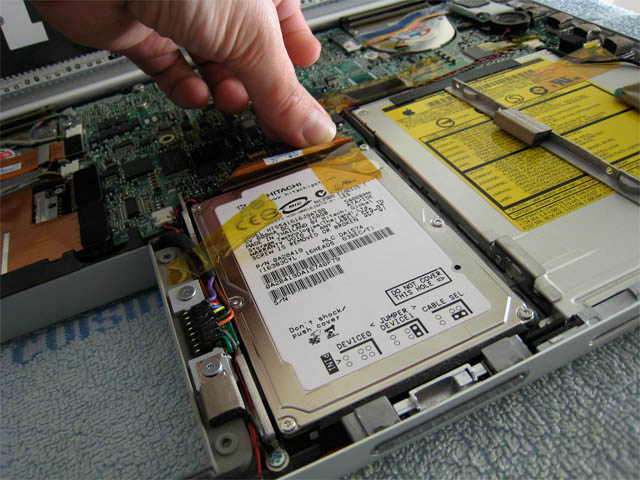
Remove the other cushioned piece on the bottom of the disk but do not throw it away, the new hard drive still needs it:
You still need to disconnect the little piece of circuit board on top of the hard drive, which in fact connects to the motherboard. Be very careful when disconnecting this piece or you may destroy a pin or two (and say bye to your laptop!).
Then you just connect the new hard drive to the little circuit board thing, wrap the disk with the awkward piece of plastic, put the screws back, put the hard drive back to its place:
Do not forget about the motherboard connection ... and the orange tape ;-)
Fnally the little cushioned piece on the right:
And back to screwing on!
After all the screws are in their place comes the scary moment - will it still work? As I had used this disk for cloning my mac mini's hard drive, it had an intel boot image, which the powerbook's powerpc chip didn't like very much. So it gave me a big kernel panic as you can see:
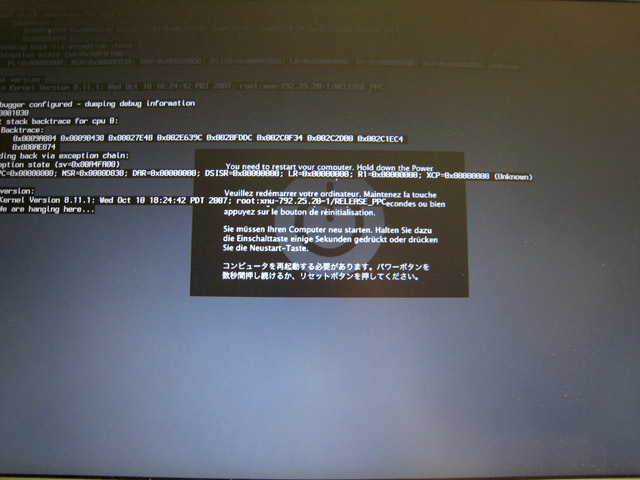
But nothing that a good install of Mac OS couldn't fix!
I have had the computer running for a couple of weeks already and I must say it's working perfectly. So if your powerbook's disk fails and you feel brave enough, do replace it yourself! :-)